Workflows
How to Compress an Image Under 100KB for Forms
Getting an image under 100KB is easier when you approach it methodically instead of lowering quality at random.

Treat 100 KB as one portal constraint
A 100KB ceiling is only one part of a form specification. Accepted format, pixel dimensions, legibility, framing, and document rules can still make an under-limit file unsuitable, so copy the current instructions before editing.
The form instructions outrank every preset
A familiar strict-form failure looks like this: the file opens normally, yet the portal rejects it with an unhelpful red message. Copy the required dimensions, format, minimum, and maximum from the form, resize first, and only then target a file just below the cap.
Do not aim for the smallest file on the internet. If the limit is 100KB, a clear result near the limit is usually better than a 20KB result with blurry text or a blocky face. Leave a little margin for systems that calculate size differently, then reopen the downloaded file before uploading it.
Read the form dimensions before compressing
A sub-100KB upload is often easier after the image is resized to the dimensions the form requests. Do not use one passport, document, or signature size for every portal. Copy the exact width, height, aspect ratio, format, minimum, and maximum from the current form first.
If the form gives only a file-size ceiling, begin with the dimensions needed to keep the content readable. A face and a page of small text need different pixel budgets. Resize a copy, compress it once, and inspect the downloaded file before another reduction.
- Photo: preserve a clear face and the crop required by the form.
- Signature: crop empty paper before reducing dimensions.
- ID card: keep small printed details readable at normal zoom.
- Document scan: use enough width for the smallest required text.
- Multiple pages: use the requested document format instead of stitching images unless the form explicitly asks for one image.
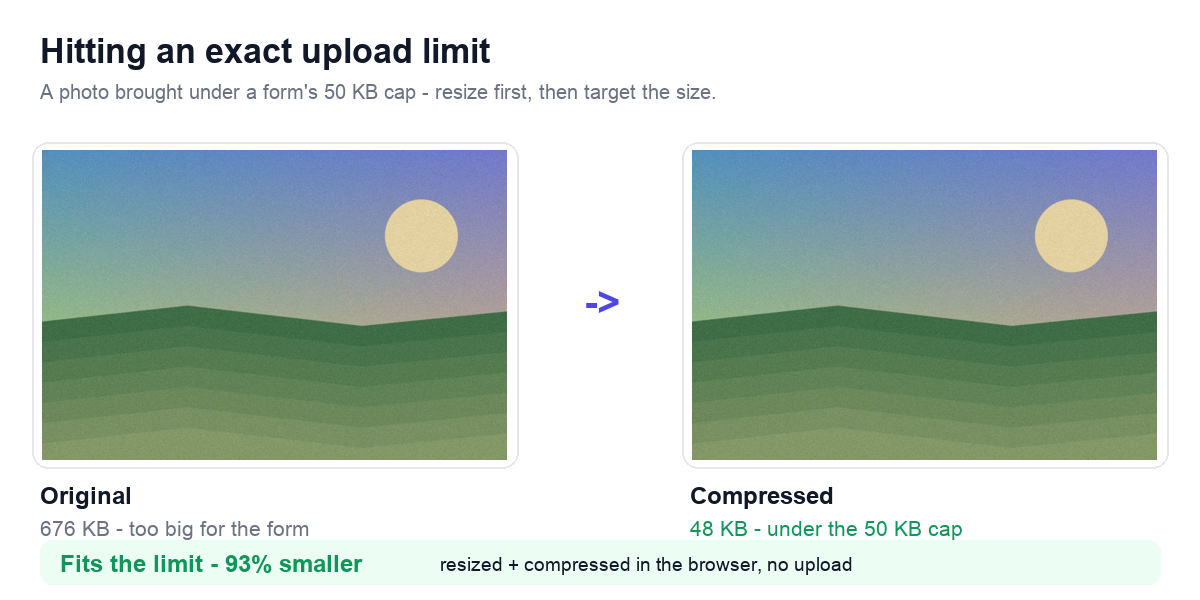
Work from portal rules to the downloaded file
Start with a duplicate of the source and correct any required dimensions first. Choose an accepted format, compress toward the byte ceiling, and reopen the downloaded file to inspect text, faces, seals, and the reported size before submission.
- Check whether the image is much larger than the form actually needs.
- Resize the dimensions first if the source is oversized.
- Use a practical output format such as JPG or WebP when the content allows it.
- Apply moderate compression and review the result before forcing the file even smaller.
A controlled way to approach the ceiling
Reducing the dimensions is often the biggest win. After that, moderate JPG or WebP compression can usually get the file under 100KB without destroying legibility.
A small file can still be rejected
PNG is lossless and can be much larger than JPG for a photographic scan. It can still be excellent for a simple signature, line art, or a limited-color graphic because it preserves hard edges without ringing.
Choose the format from both the content and the form allowlist. Use JPG for most photo-like files, PNG for simple sharp graphics when accepted, and never convert only to chase a smaller extension. Reopen the output and verify that the portal recognizes its real file type.
Why documents, signatures, and portraits compress differently
A certificate image for a portal upload.
A document scan or ID image for a government form.
A profile photo for a job application system with a hard cap.
Why a byte limit is only one acceptance check
The same discipline that helps with form uploads also helps with website efficiency: realistic dimensions, sensible format choice, and controlled compression.
Internal tools and portals often create these strict limits, so teams should document the fastest workflow for contributors instead of leaving them to guess.
How technically small files still fail validation
- Trying to hit 100KB with compression alone while keeping giant dimensions.
- Using PNG for a photo-heavy file that mainly needs to be smaller.
- Compressing so hard that document text becomes unreadable.
- Ignoring whether the form actually accepts the chosen format.
Frequently Asked Questions
Why is my image still above 100KB after compression?
Its pixel dimensions may still be too large, or the format may be inefficient for that content. Resize to the form requirement before lowering quality further.
Should I target exactly 100KB?
Aim slightly below the stated maximum to allow for rounding or metadata differences, while keeping the image clear.
Related Tools


Sources and related reading
For browser image-format capabilities and tradeoffs, consult MDN image format characteristics. For a hands-on companion to How to Compress an Image Under 100KB for Forms, continue with Passport-photo file-limit guide.