Workflows
How to Reduce Image Size Without Losing Quality
Reducing image size without losing quality is usually about changing the workflow, not about finding one magical slider setting.

Define acceptable quality before reducing bytes
This workflow balances two independent constraints: the destination’s byte limit and the detail that must remain readable or credible. Record both before changing the file so each test has a concrete pass condition.
Why resizing often beats harsher compression
Consider a familiar form problem: the photo looks fine, but the portal accepts only a file below a strict size limit. Lowering quality again and again can make the face look worse while the file remains stubbornly large. Resizing unnecessary pixels first usually removes more weight before heavy compression is needed.
The quality slider is not a courage test. Start with the destination dimensions, make one moderate export, and compare it beside the original at the size people will actually see. "Without losing quality" should mean no meaningful visible loss for that use, not that the file is mathematically unchanged.
Resize, encode, and inspect in that order
Compare the source dimensions with the final display or upload slot first. Resize a copy when the source is oversized, then test format and compression changes separately while checking the details that matter.
- Check whether the image dimensions are much larger than the final layout or upload slot.
- Choose a sensible output format for the content type before lowering quality.
- Compress in moderate steps instead of jumping immediately to the lowest setting.
- Preview the result at the real display size before deciding whether another pass is needed.
Choose a starting point, then inspect
For many photographic web images, right-sized dimensions plus moderate JPG or WebP compression is enough. For screenshots and diagrams, dimension control often matters more than aggressive lossy settings.
Resize to the destination before chasing a KB number
Start with the largest size at which the image is actually displayed or accepted. A camera original placed in a small content column carries pixels the visitor never sees, so resizing a copy often removes more weight cleanly than lowering quality repeatedly.
Use slot-specific dimensions rather than a universal table. A hero, article figure, product thumbnail, email image, and social card have different crops and compatibility needs. Keep the original and verify the current destination instructions before exporting a batch.
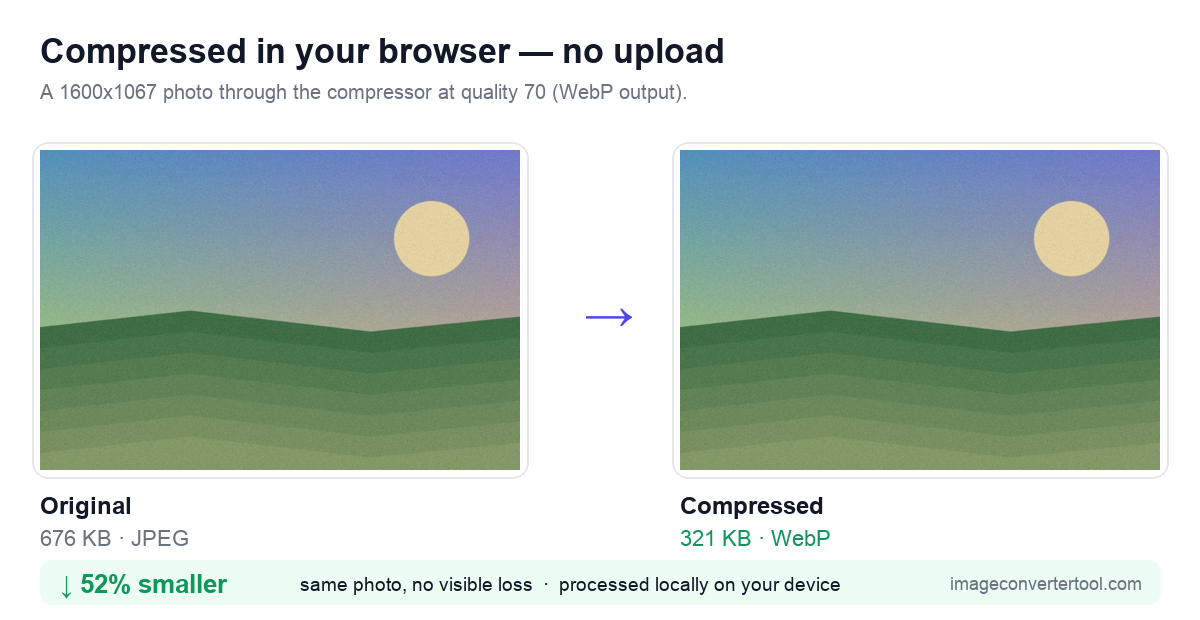
Three destination-specific compression decisions
A blog hero image that is 3000 pixels wide but only displays at around 900 pixels.
A scanned document image that needs to stay readable under a form limit.
A product photo that should remain trustworthy on a category page even after optimization.
Why destination-first compression is repeatable
When images are reduced carefully, pages stay faster without making the media look cheap or degraded.
Teams should document a sequence of dimension checks, format rules, and quality ranges instead of leaving every upload decision to guesswork.
Treat quality values as starting points
Quality scales differ between formats, encoders, and browsers. Make one moderate export, inspect faces, small text, gradients, edges, and shadows at the intended display size, then move in small steps. The first acceptable value depends on the image rather than one universal “sweet spot.”
Use PNG or lossless WebP when sharp text and flat graphics show lossy artifacts. For photographs, compare JPG, WebP, or AVIF from the original source and keep the simplest output that meets the visual and workflow requirements.
When a smaller file is the wrong result
- Compressing before checking whether the file is oversized in dimensions.
- Using one quality setting for photos and screenshots alike.
- Ignoring the final display size while previewing a compressed image.
- Saving over the original before confirming the reduced file is good enough.
Frequently Asked Questions
Can file size be reduced with literally no quality loss?
Sometimes, through lossless optimization or metadata removal. Large reductions in photos usually require resizing or lossy compression, so the realistic goal is no noticeable loss at the intended display size.
For a web copy, should I resize before adjusting quality?
Resize first when the image has more pixels than the destination needs. Then use moderate compression to reach the remaining file-size target.
Why does a photo still look good after a large size reduction?
A phone or web slot often displays far fewer pixels than the camera captured. Removing unused dimensions can save substantial space without changing what the viewer can see.
Related Tools


Sources and related reading
For why serving images at their rendered dimensions matters, consult web.dev guidance on correct image dimensions. For a hands-on companion to How to Reduce Image Size Without Losing Quality, continue with Image compression guide.