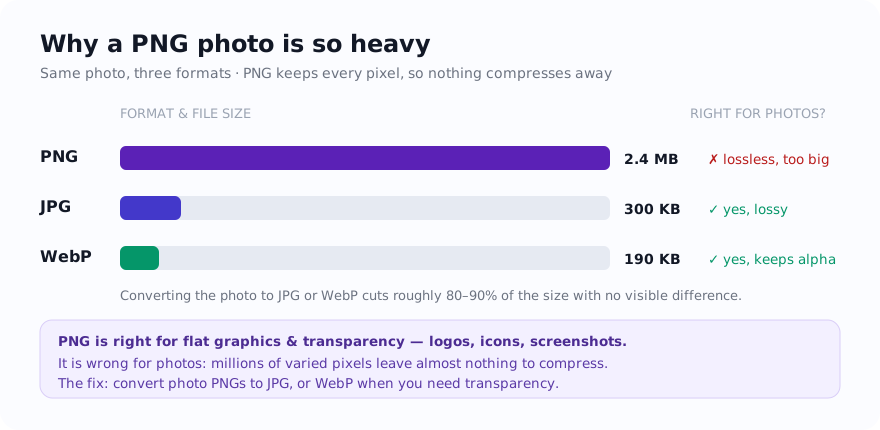
PNG is useful for lossless graphics, transparency, screenshots, and sharp edges. For a photograph, however, a PNG can be much larger than a JPG or WebP copy because those formats offer lossy compression designed for continuous-tone images. The difference is not a fixed multiplier: dimensions, image detail, bit depth, metadata, and encoder settings all affect the result. An oversized PNG photo is a reason to compare formats, not proof that the format is the only cause.
Why PNG gets so big
PNG preserves the decoded pixel values losslessly. Continuous-tone photographs contain many small colour and texture variations, which generally compress less efficiently with PNG than flat-colour graphics do. JPG and lossy WebP can discard selected detail to reduce size, but the saving and visible effect depend on the source and encoder settings. A screenshot with repeated flat colours may suit PNG; a detailed photo is worth comparing as JPG or WebP.
The fix depends on what the image is
- It is a photo → try JPG or WebP. Either can be much smaller than a photographic PNG, but compare the actual byte count and inspect fine detail.
- It is a logo, icon, or screenshot → keep it PNG, but you can still shrink it: reduce the dimensions to what you actually display, then run it through the compressor.
- It needs transparency → keep the PNG master and compare a WebP copy. This site's WebP export is quality-controlled and lossy: alpha can remain, but fine colour and edge pixels may change, and a smaller file is not guaranteed.
The one catch: transparency
JPG cannot store transparent areas — when you convert, they get filled with a solid background colour. So if your PNG has a see-through background you want to keep, do not convert it to JPG; use WebP instead, or deliberately choose the background colour during conversion if a flat background is acceptable.
Step by step to a smaller file
- Decide what the image is — photo, or graphic/screenshot with transparency.
- Photo: open PNG to JPG (or PNG to WebP), convert, done.
- Graphic you must keep as PNG: resize to the displayed dimensions, then compress.
- Needs transparency: compare PNG with a transparency-capable WebP copy, checking alpha edges on both light and dark backgrounds.
- Check the result at full size to confirm quality before you use it.
Do it without uploading
For supported inputs, the selected file is decoded, converted, and compressed on the device rather than uploaded to the site server for those transformations. The page still makes ordinary requests for delivery, listed libraries, diagnostics, advertising, and consent-controlled services. If you are unsure which format fits your image, the JPG vs PNG guide walks through the decision in plain language.
Use the tool: PNG to JPG — free, with selected-file processing performed on the device for supported inputs.
Related guides
Sources and verification
- MDN: Image file type and format guide — Format capabilities, compression modes, transparency, and browser support.
Frequently asked questions
Why is my PNG bigger than the original JPG?
PNG is lossless, while JPG can discard selected detail. For photographic content that often makes the PNG larger, but the difference depends on dimensions, detail, metadata, and encoder settings.
Should I convert my PNG to JPG?
Compare JPG when the image is a photo and transparency is not needed. Keep the PNG master for logos, icons, screenshots, or workflows that need lossless storage of the decoded pixels, and inspect any converted result before replacing it.
How do I shrink a PNG that needs transparency?
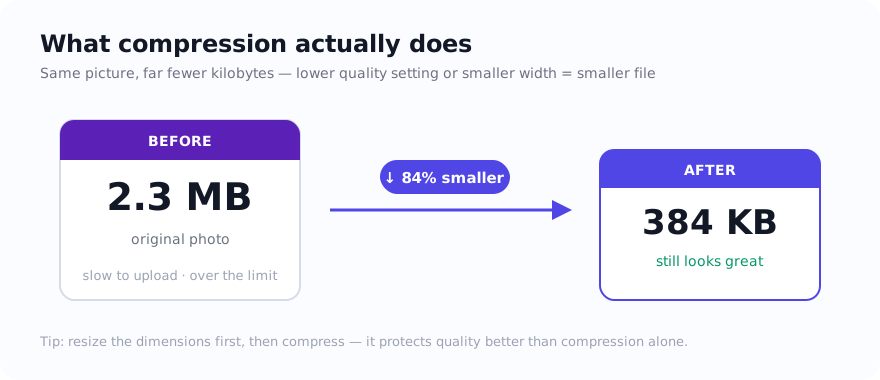
First resize it to the dimensions the destination needs. You can also compare a transparency-capable WebP copy, but the output size and visible result depend on the source and encoder settings.